 English
 Dansk
Dansk Deutsch
 English
 Español
 Français
 Hrvatski
 Italiano
 Magyar
 Nederlands
 Norsk
Norsk Polski
 Română
 Slovenský
 Slovenščina
 Suomalainen
 Svenska
 Česky
Česky Ελληνική
 Български
With their vibrant colours and showy flowers, geraniums are without a doubt a very popular summer decoration and a welcome gift for any hostess. But dressing it up in a cachepot you’ve designed yourself will really make it an original eye-catcher and a one-of-a-kind present. The experts from Pelargonium for Europe present fresh ideas for DIY geranium pots that you can make in no time without much arts & crafts skill.
Colourful pompom pots
Geranium pots with fun guaranteed:
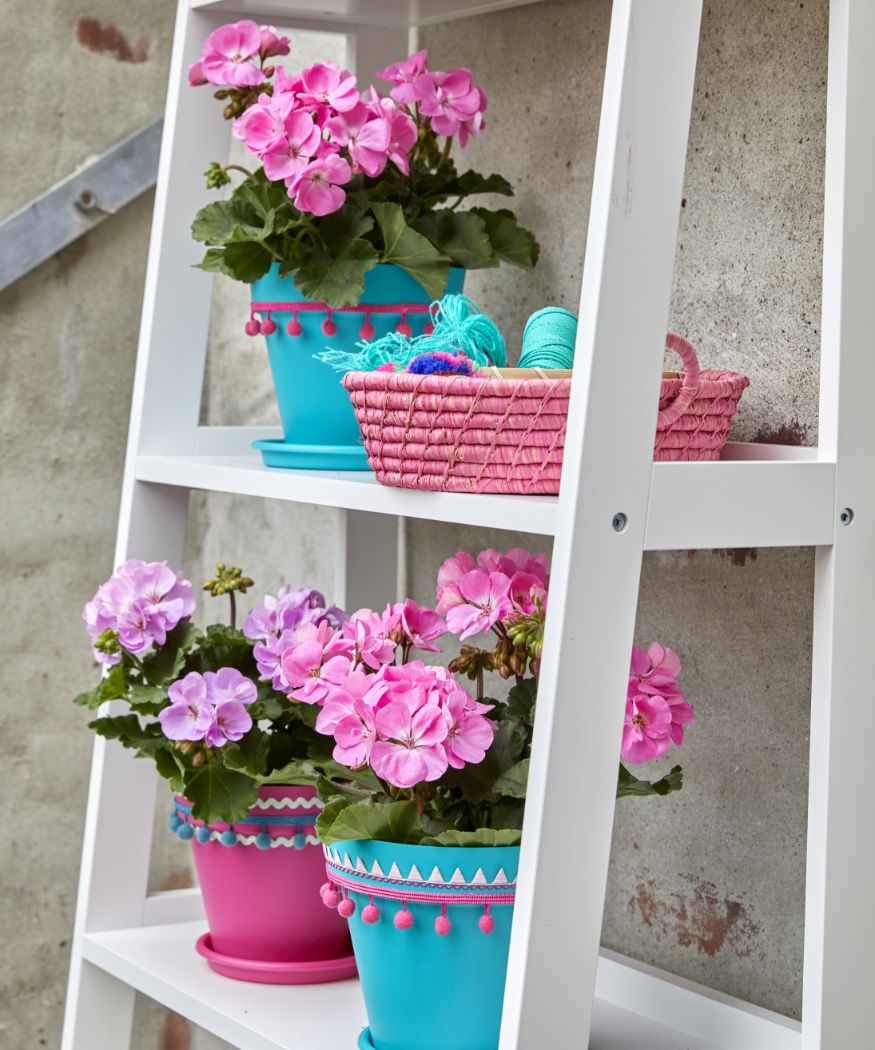
With a flick of the wrist, pompom bobble fringes, ric-rac and other trimmings and ribbons transform gaily-coloured plastic pots from the garden centre into unique design objects in on-trend boho style.

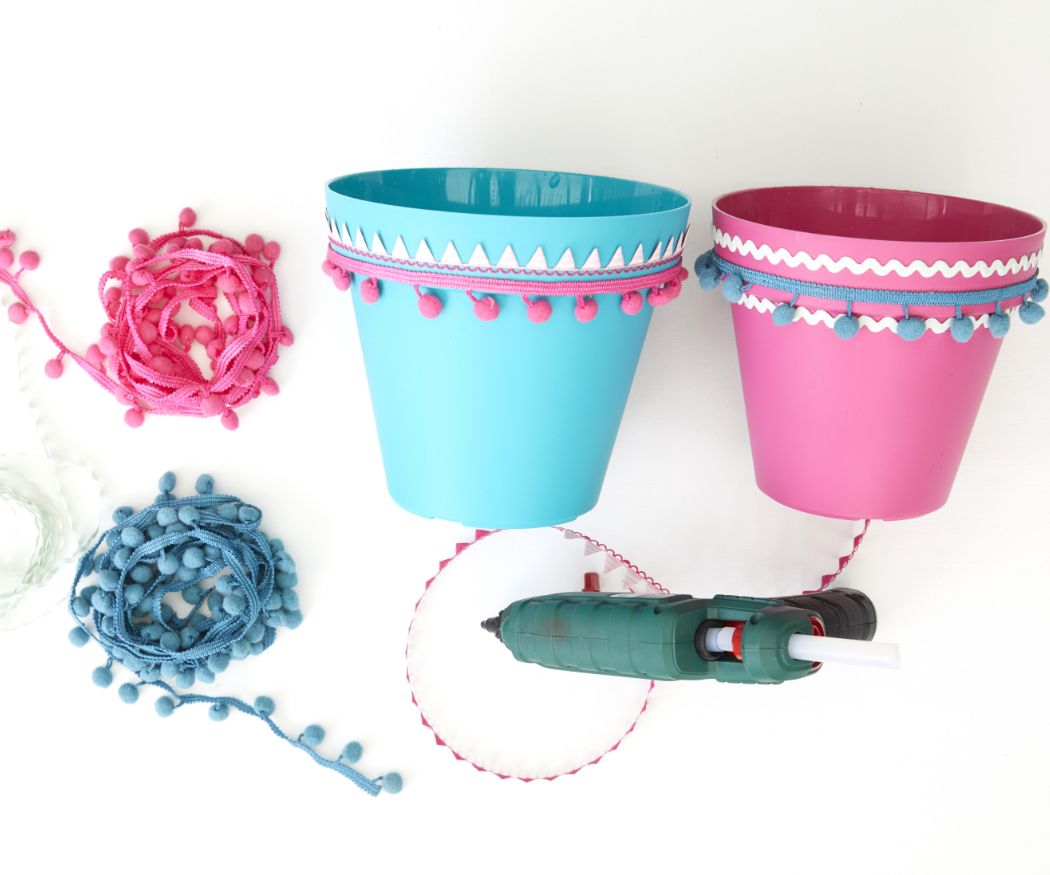
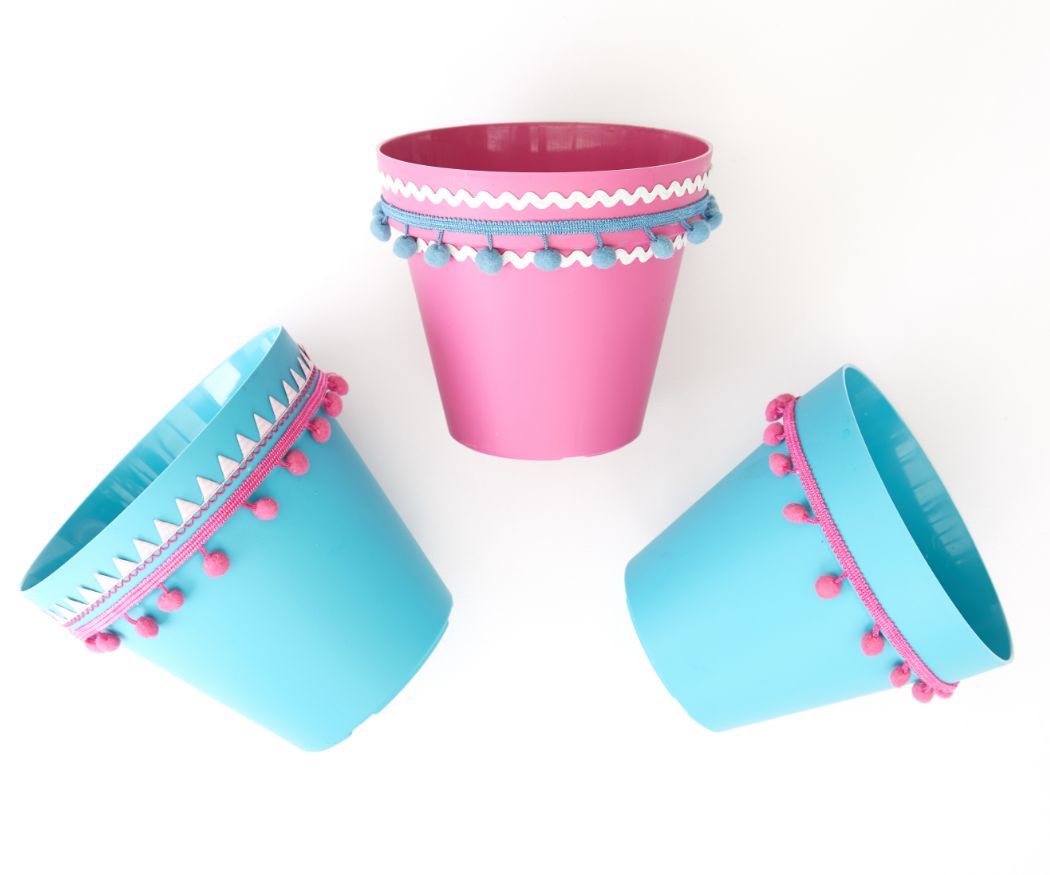
For this idea, simply hot-glue a mix of trimmings and ribbon on brightly-coloured plastic pots in any combination you like. Pink and lilac geraniums look absolutely enchanting in these fuchsia and turquoise pots.
Tip: The pots should be completely clean and dry before gluing on the decorations.
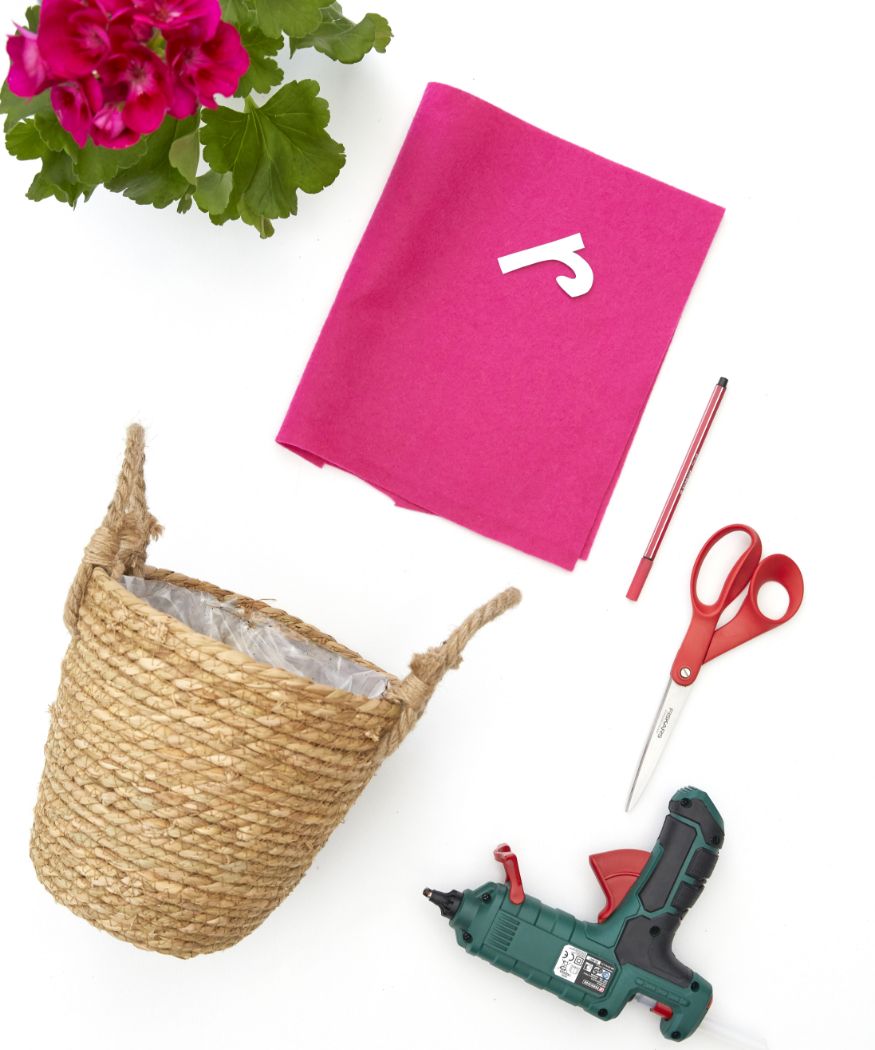
Fun garden baskets
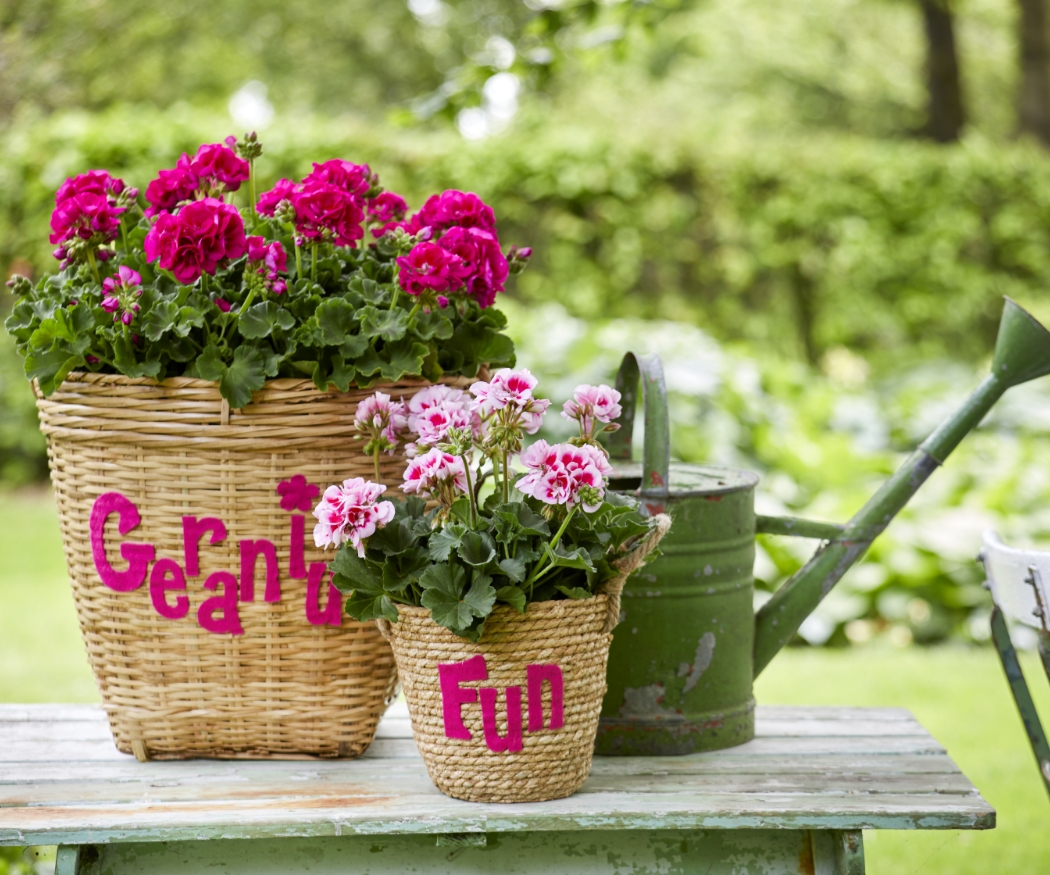
In no time at all, simple baskets are turned into unique containers for a summer garden, in which profusely blooming geraniums look just beautiful.
You will need plain baskets, felt in your colour of choice, letter stencils, a marker, scissors and hot glue.
Tip: The result is especially stunning when the felt and flowers match in colour.
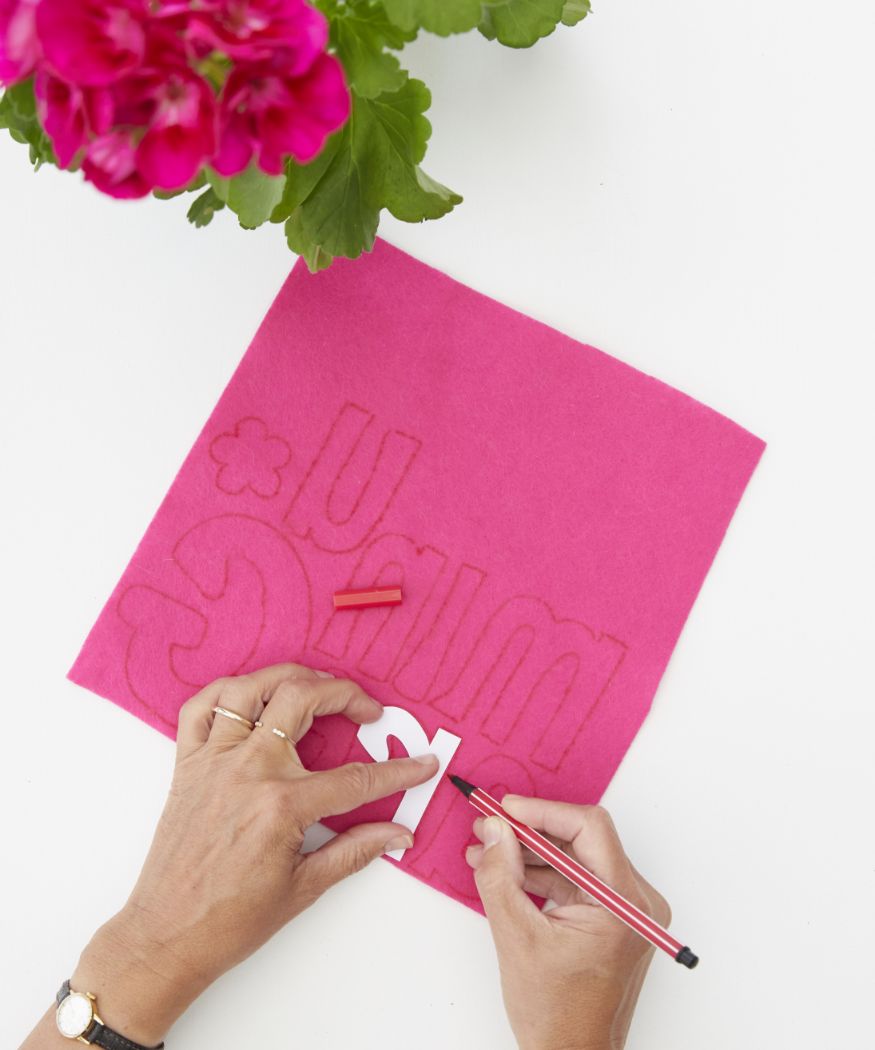
And here’s how it’s done:
In the first step, draw the letters you need on felt using the stencils.
It’s advisable to work in mirror writing so that the lines are hidden on the back of the felt.
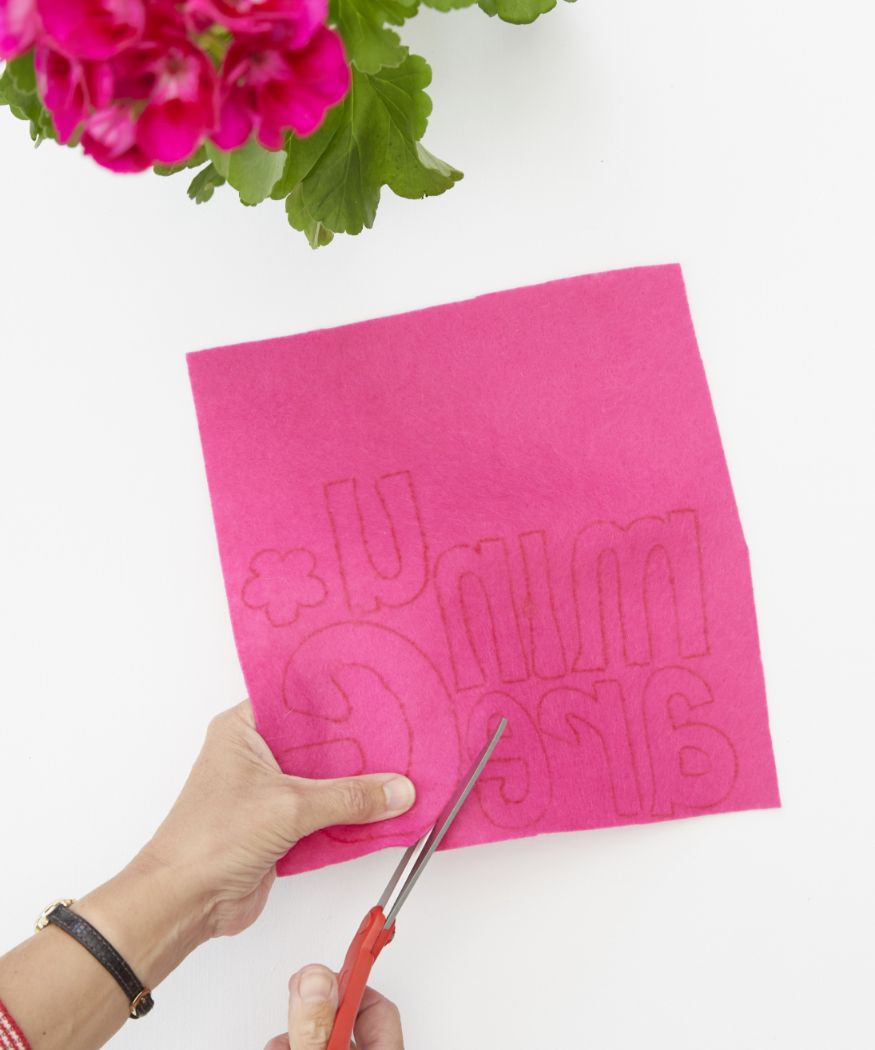

Tip: For an even more unique look, you can draw without stencils. Next, cut out the stencilled letters with a pair of sharp scissors or fabric cutters. Finally, hot-glue the cut-out letters facing the right way onto the baskets.
Tip: Arranging the letters unevenly will make the words look livelier.
Tafellack-Töpfe
With some blackboard paint and chalk, plain pots can be transformed into unique eye-catchers for the windowsill in just a few simple steps. Scented geraniums, for example, will look beautiful in these containers.
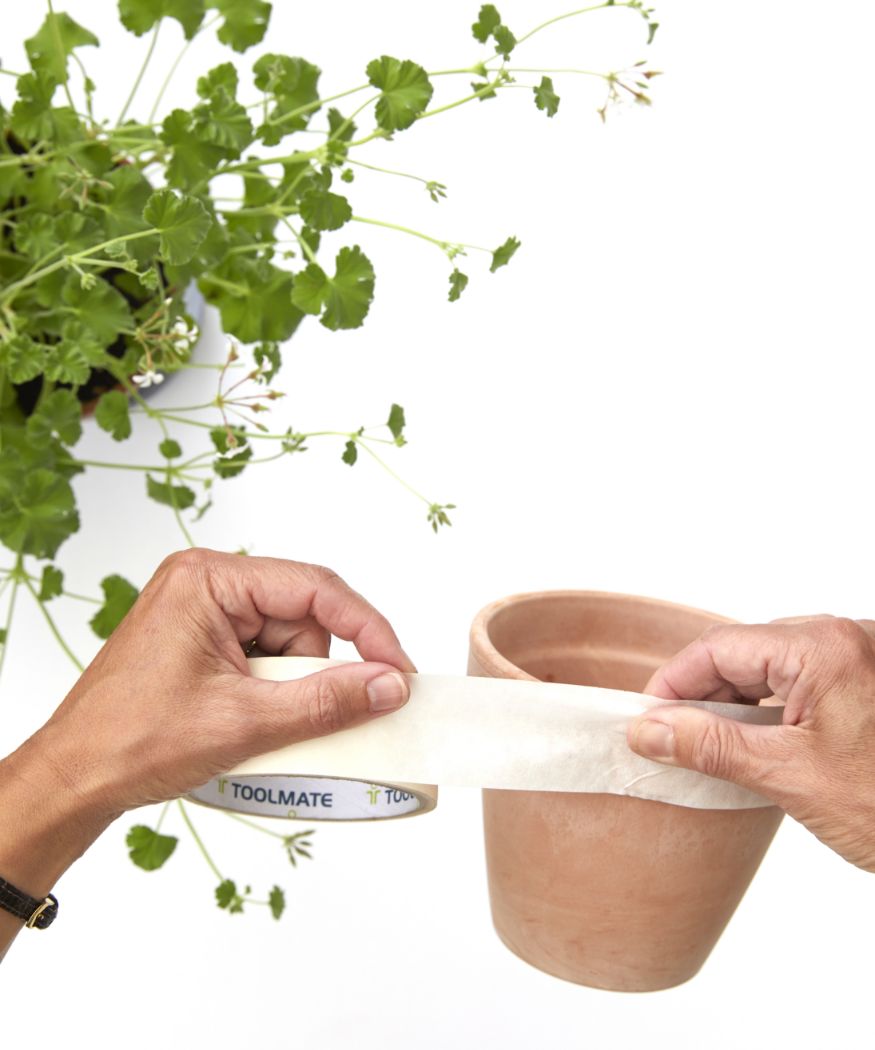
In addition to the blackboard paint and chalk in your preferred colours, you will need tape, a paintbrush and terracotta pots.
And here’s how it’s done:
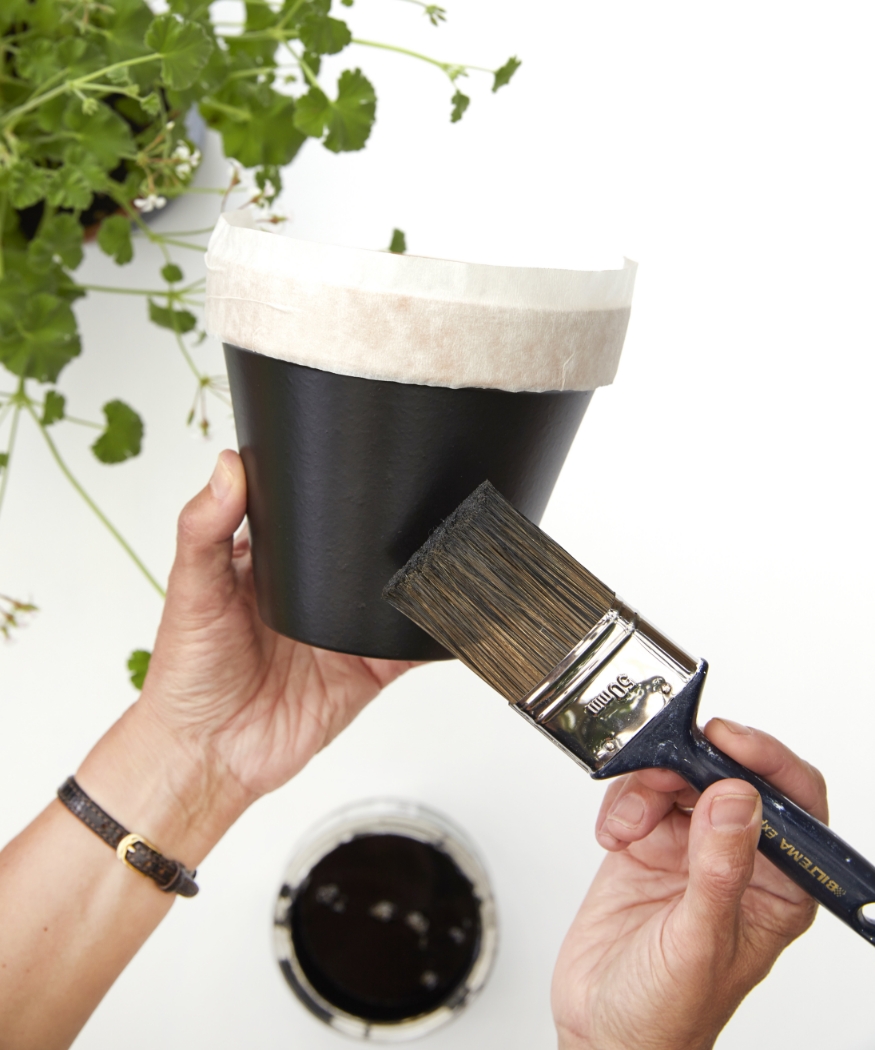
First mask the rims of the pots with tape. Then brush the pots with blackboard paint and allow to dry. Once the paint has dried, remove the tape and write in big letters on the pot with chalk.
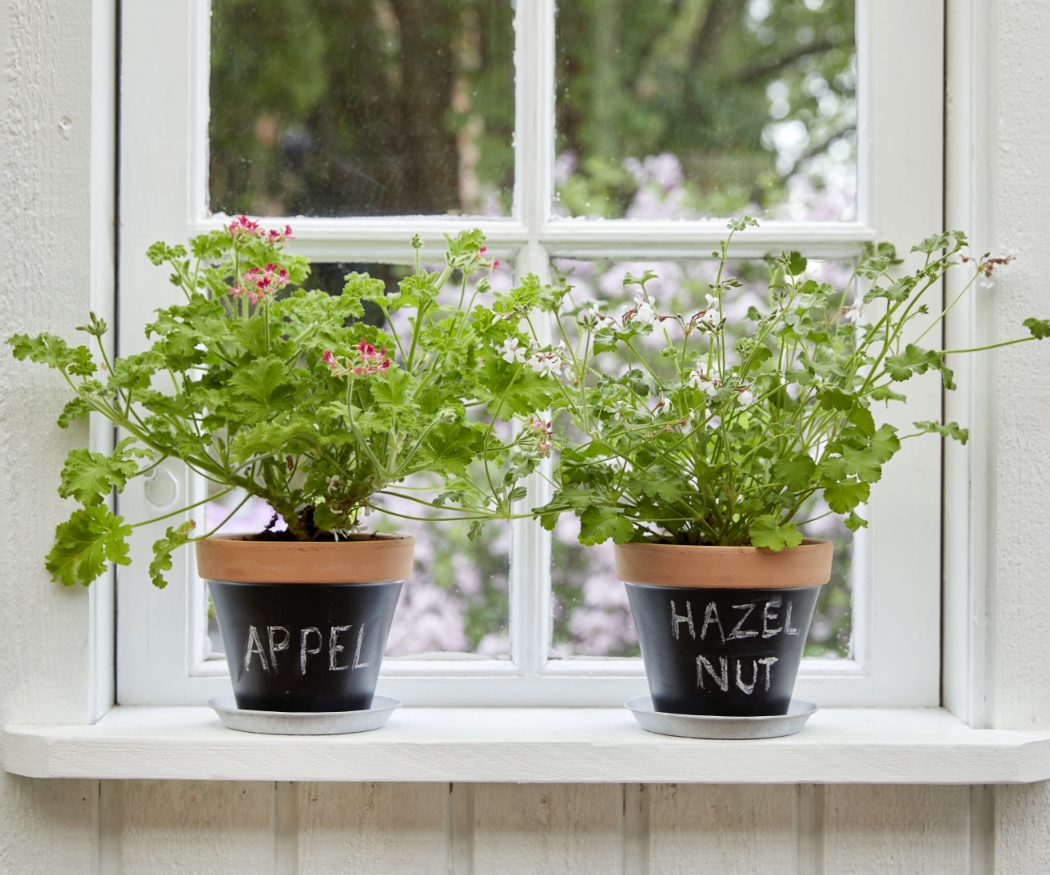

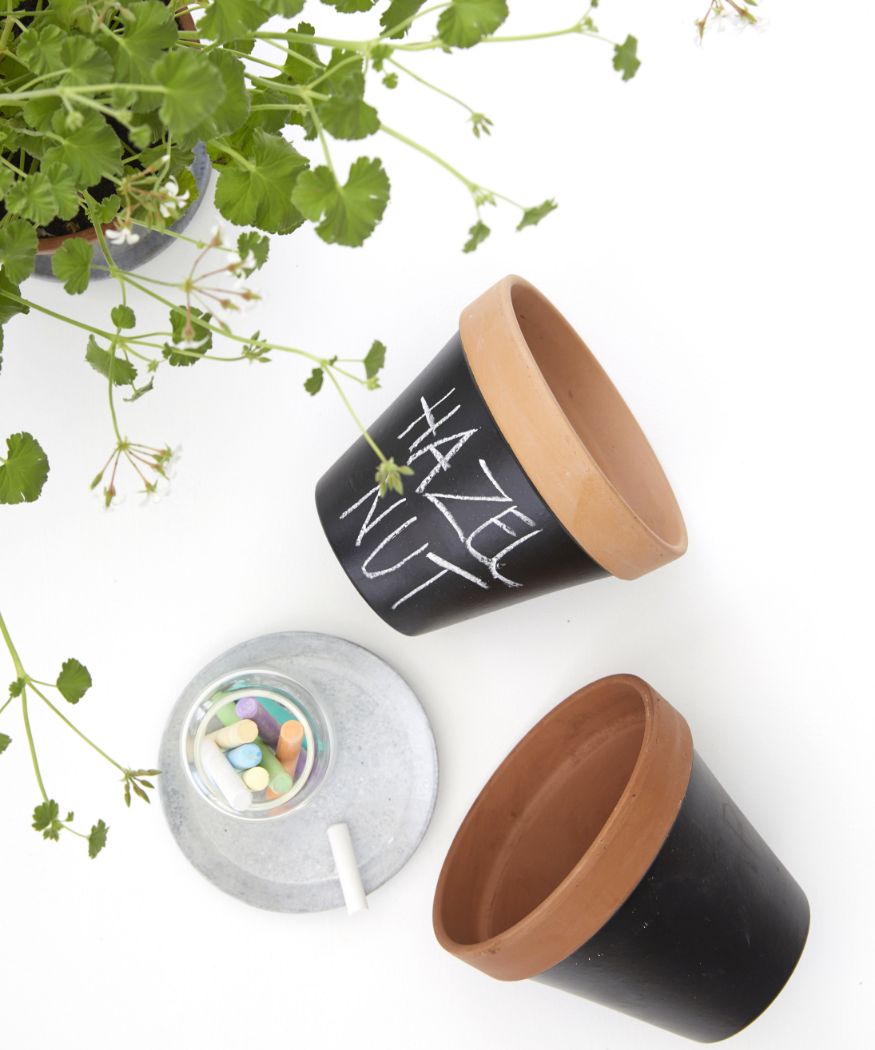
If you think you might want to change the labels later on, avoid using liquid chalk marker, as it may be difficult to erase the writing on the blackboard pots. It looks especially nice when several pots are displayed together.
Tip: This DIY idea is intended for indoor rooms. If you want to set your blackboard pots outside it’s better to use waterproof chalk marker for the lettering.