 English
 Dansk
Dansk Deutsch
 English
 Español
 Français
 Hrvatski
 Italiano
 Magyar
 Nederlands
 Norsk
Norsk Polski
 Română
 Slovenský
 Slovenščina
 Suomalainen
 Svenska
 Česky
Česky Ελληνική
 Български
The outdoor season is about to begin! Sunshine and mild temperatures create high spirits and lure us outdoors. It’s high time to prepare your terrace, balcony and garden so that you can enjoy the coming months to the full. In this article we explain how to do it on a budget. With homemade outdoor furniture and colourful geraniums, you can transform any space into an colourful paradise! 😊
Here you can find out:
– What makes homemade tables, chairs and shelves so attractive.
– Why geraniums are perfect for flowering oases of well-being.
– What tools you need to build your own furniture.
We also present six great DIY pieces of furniture that will give your flowering paradise a unique look. Detailed step-by-step instructions and descriptions will help you make the furniture. We hope you enjoy the process!
Click here to go directly to the DIY ideas.
What makes homemade furniture so attractive?
Creating something yourself is fun and gives you a great sense of achievement.
– You can express yourself by designing your furniture exactly the way you want it to be.
– When you reuse old furniture or materials (upcycling), you do the environment a favour. DIY furniture like this is sustainability in action. 😊
– DIY is usually cheaper than buying.
– Homemade furniture is unique. It provides quite a contrast to mass-produced ready-made products.
And why geraniums?
Hardly any other summer flower blooms so beautifully, and for so long.
– Geraniums are easy to care for and are also suitable for beginner gardeners.
– They can cope with extreme heat or temporary drought.
– Geraniums are not sensitive to diseases and pests.
– They come in many colours and growth forms, and with a wide variety of flowers and leaves.
However, geraniums need plenty of sunlight to grow well and produce many flowers. As pot plants, they are therefore only suitable for sunny to semi-shady locations. But even if you don’t have a suitable spot, you don’t have to do without geraniums. In this case, simply use cut geraniums to enjoy the colourful blossoms! 😊
What tools do you need?
You don’t need a fully equipped workshop to build your own furniture. Of course, good tools are an advantage. For most of these projects, the following basic equipment is sufficient:
-Hammer
-Saw
-Cordless drill
-Pliers
-Hot glue gun with hot glue
-Screws and nails
-Brushes and paints
Ideas for homemade furniture with geraniums
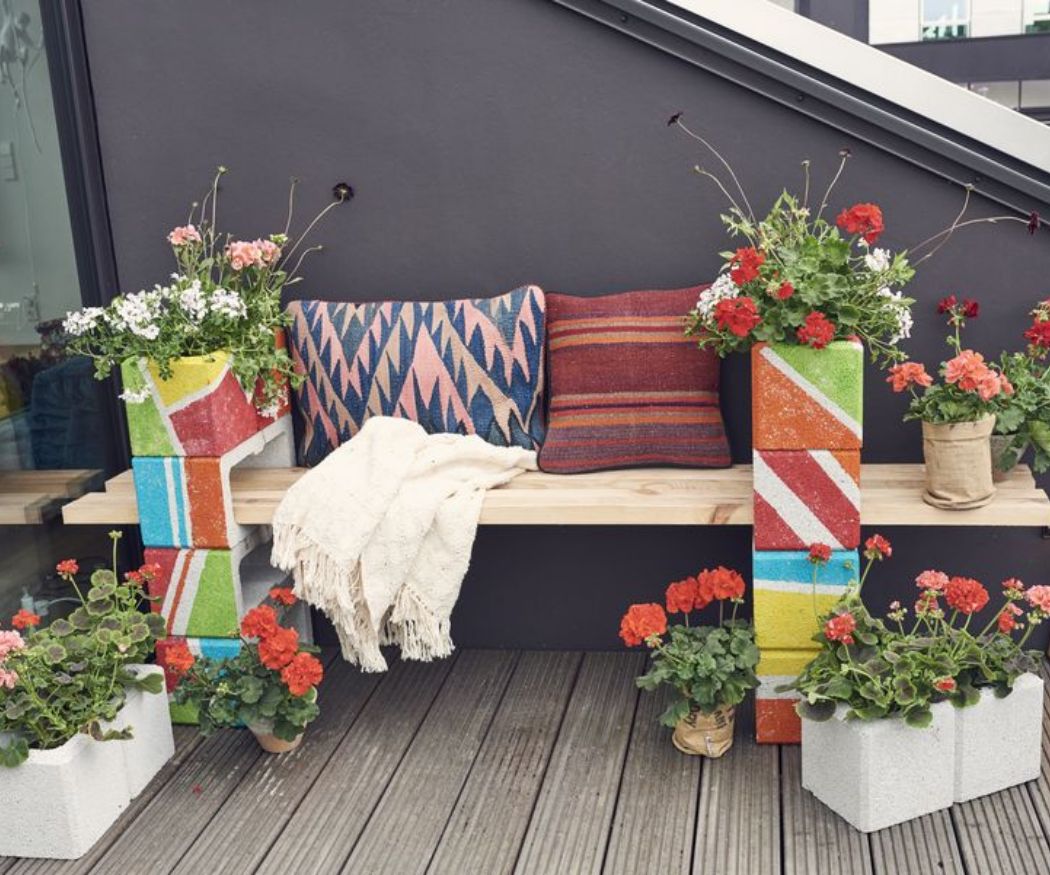
DIY idea 1: Relaxing bench with geraniums
You don’t need any DIY skills for this flowering bench – just wooden boards and aerated concrete blocks from the DIY store. You will also need acrylic paints, a dabbing sponge, plastic gloves, painter’s tape, potting soil, geraniums, garden fleece and scissors.
Plant colourful geraniums in the concrete blocks. If the blocks are more than 20 centimetres in diameter, you can add a second sun-loving flower alongside the geraniums. Do you want to know more about how we made the bench? Then watch our video. 😊
DIY idea 2: practical ladder shelf with geraniums
This DIY shelf made from a ladder and boards offers plenty of space for geraniums and other things. It can be used as a room divider or privacy screen. You can easily build it yourself – especially if you get the wood sawed for you at the DIY store.
You will need: a stepladder, three to four boards (16 millimetres thick), a cordless drill, possibly a jigsaw, sandpaper, a compass, a pencil and a ruler, as well as several terracotta pots and geraniums. It’s best to have the boards cut to size when you buy them at the DIY store. Make sure they are slightly narrower than the rungs of the ladder, and long enough to extend 20 to 30 centimetres beyond the sides of the ladder frame. This way there is enough space for the geranium pots.
Decide where you want to place each geranium pot and use a compass to mark out the circular cut-outs on the boards where the pots will hang. The diameter of the holes must be about one centimetre less than the top diameter of the pots. The easiest way is to have the cut-outs sawn out at the DIY store. If you have a jigsaw, you can do it yourself.
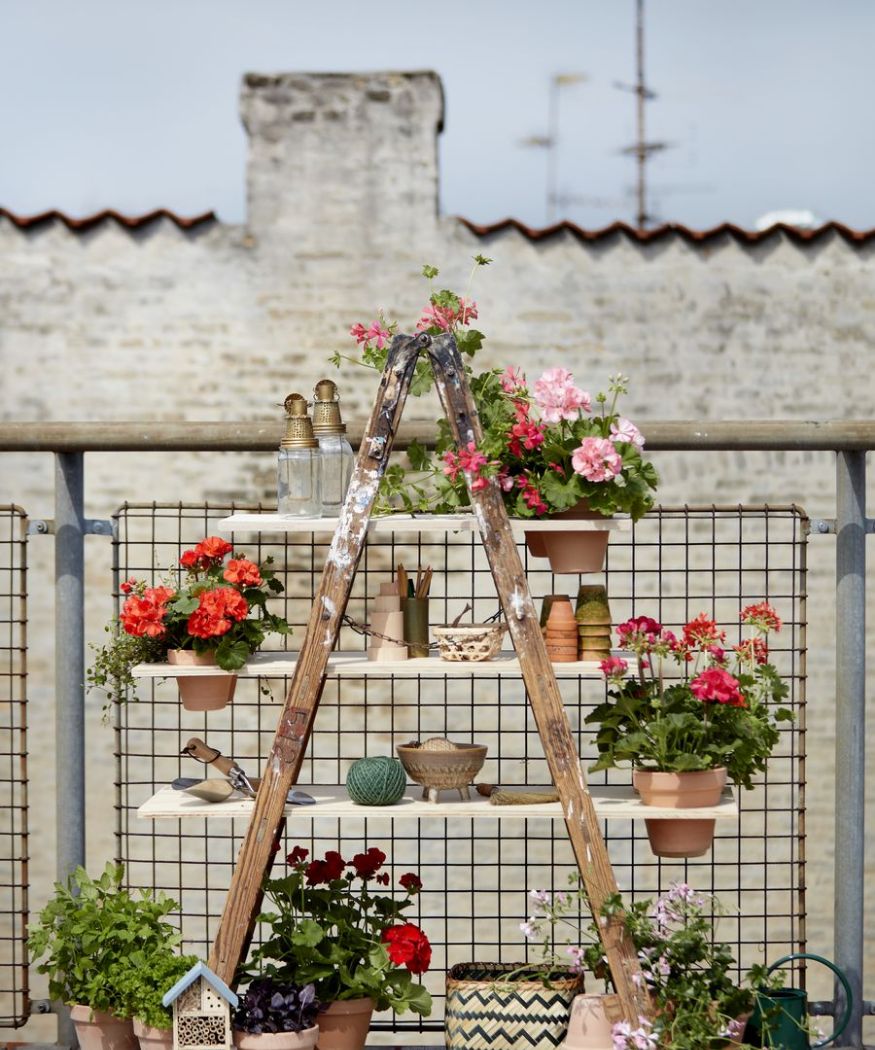
It is best to first drill holes with the cordless drill so that you can push the saw blade through the board. Depending on the width of the board, you can either place a larger geranium pot in the middle of the board or two smaller pots next to each other. With two pots, it is important to make sure that there is enough space between the holes.
DIY idea 3: Upcycled table made from car tyres
For this small table you will need two used car tyres, acrylic paint, a circular OSB board, a cordless drill and screws.
First clean the tyres thoroughly and then spray them in the colour of your choice. With light colours, you will probably have to repeat
the spraying process several times until the dark colour no longer shows through.
It is best to have the OSB board cut to size at the DIY store. Fix it with screws so that it doesn’t slip.

DIY idea 4: hanging wall shelf in boho style
This boho-style wall decoration is just as suitable for covered outdoor areas as it is for indoors! You can easily make the DIY shelf yourself.
You will need a branch, a board, a drill, jute twine, macramé yarn, wooden beads, scissors, a geranium, and other decorations to fill the shelf. Note that the branch must be slightly longer than the width of the finished wall hanging.
Here’s how to do it: First cut a piece of jute string and knot it to the ends of the branch. This is where you will hang the wall hanging later. Then cut more jute twine and macramé yarn to the required length and lay it in bundles of three to five pieces in loops over the branch. Then pass the strings and yarn through the loops and tighten. Braid some bundles into plaits and tie a knot at the end of each plait. For some bundles, let the individual strings hang loosely.
Tie other bundles together at different heights with different-coloured string or beads. Leave the outer bundles on both sides of the wall hanging unfinished for now. Saw the board to the desired width of the wall hanging and drill a hole in all four corners.
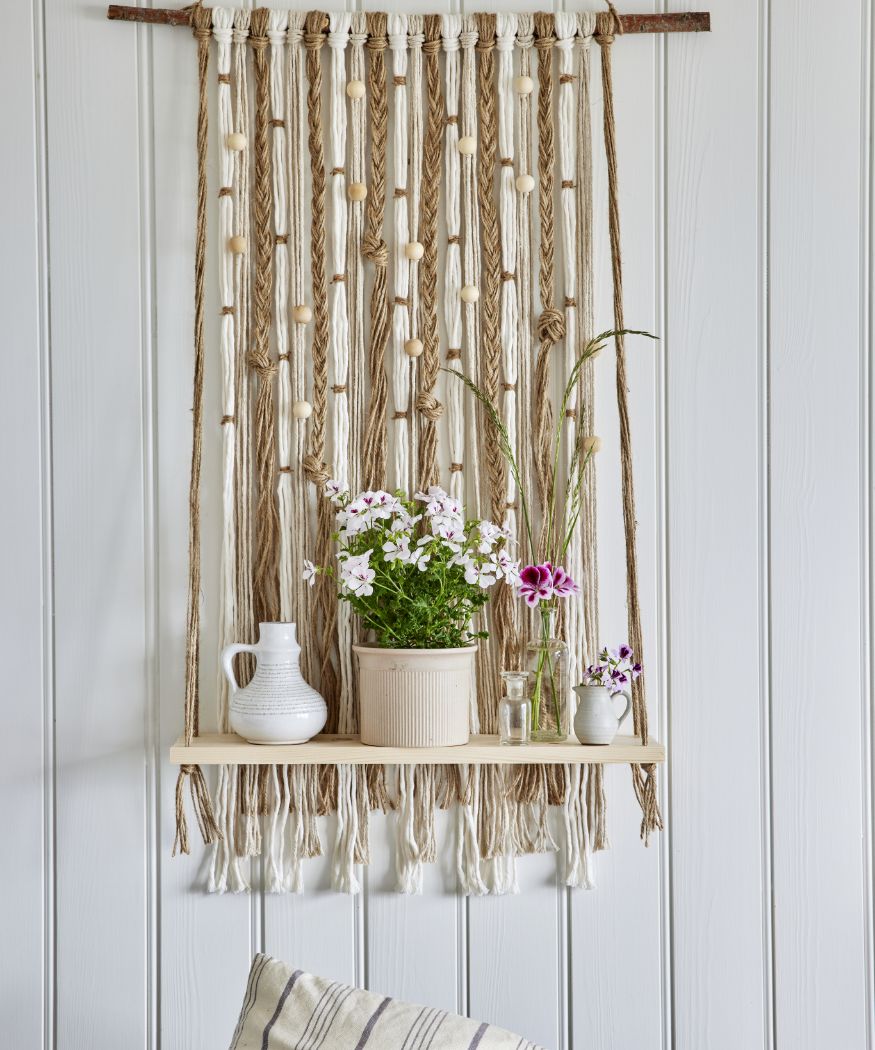
Then divide the outer bundles and put half of the string through each of the pre-drilled holes. Then knot the strings under the board so that the knots hold it straight and in place. Finally, hang the wall hanging and place a potted geranium on the shelf. 😊
DIY idea 5: Upcycled hanging shelf for the garden
In a few simple steps, you can make this hanging shelf out of an old chair. You will need an old wooden chair, a saw, a cordless screwdriver with screws, waterproof spray paint, sturdy rope for hanging and a geranium in a pot.
First, completely dismantle the chair. Then saw through the seat in the middle and screw the front half to the backrest so that the edge of the saw is hidden.
Then spray the shelf in the colour of your choice, hang it up with the rope and put the geranium on it. Tips for the right location can be found here.

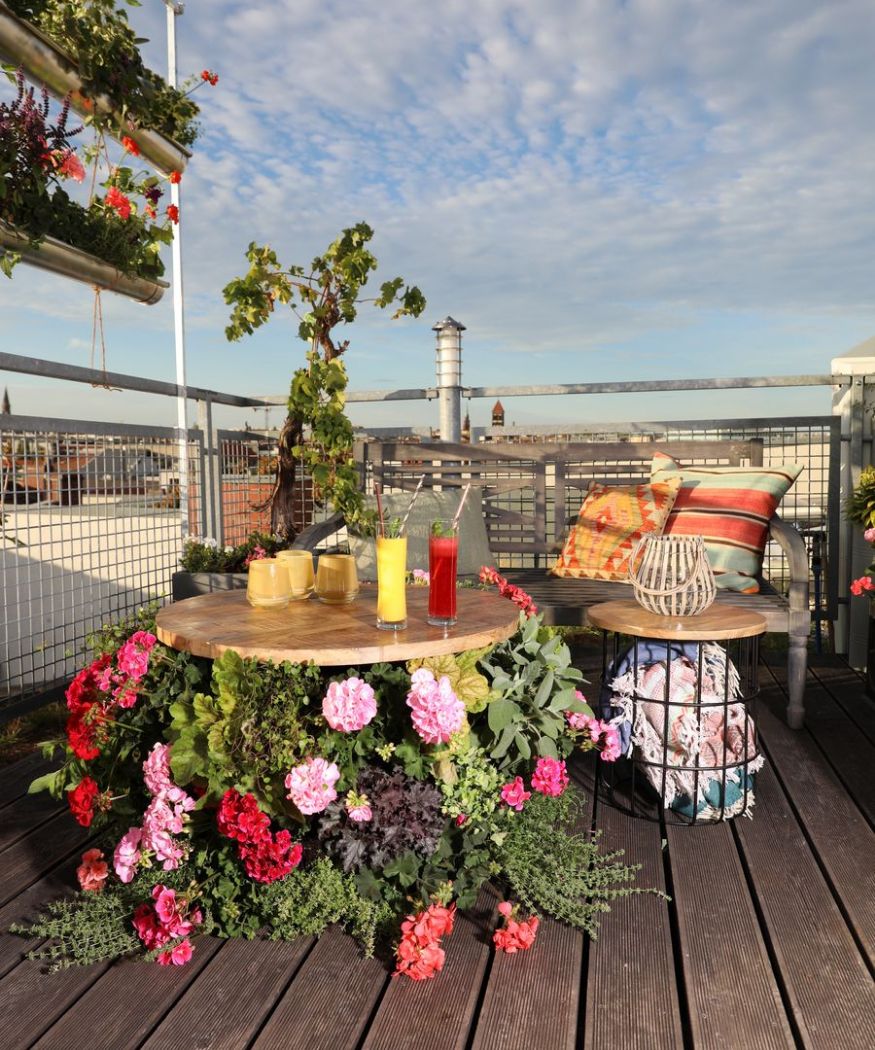
DIY idea 6: Outdoor table in a vertical garden style
This gorgeous outdoor table is much easier to make than you might think.
You will need a simple wire basket table with a removable wooden top, ribbon fabric, potting soil, geraniums, lettuce, herbs and other plants of your choice, scissors and aluminium wire.
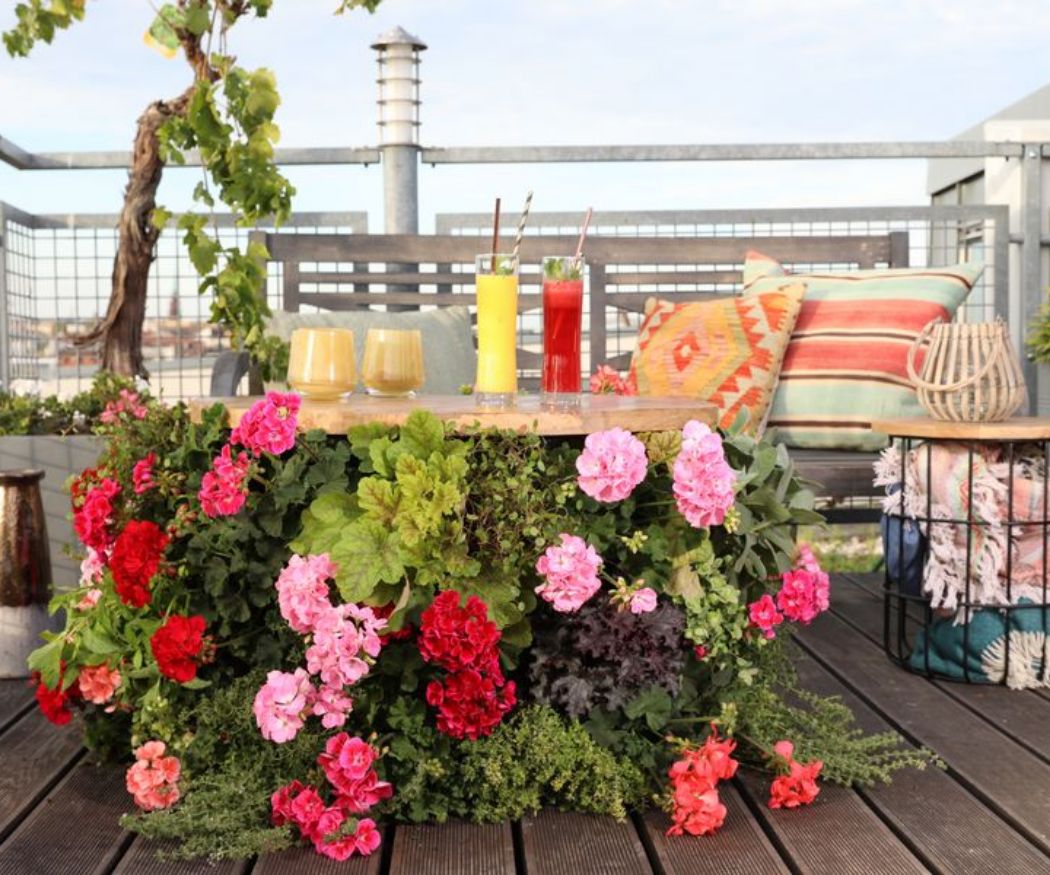
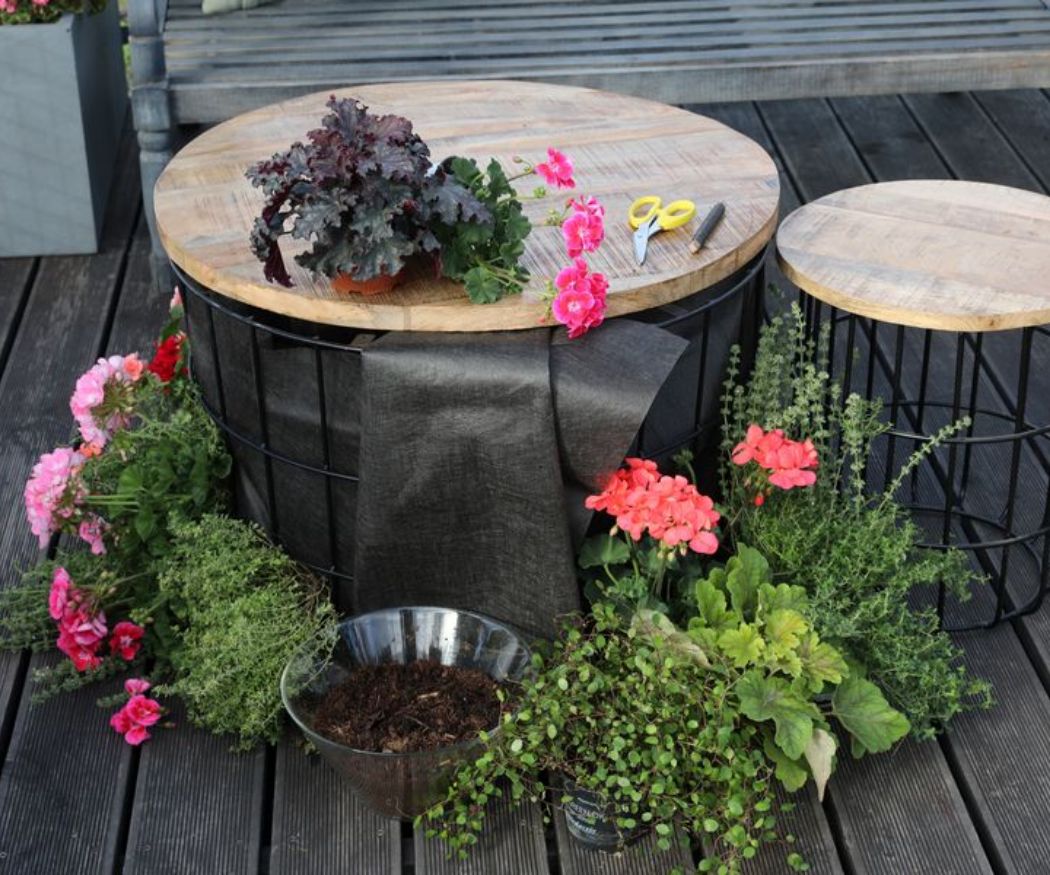
Here’s how to do it: Remove the tabletop and line the inside of the wire basket with the ribbon fabric using aluminium wire. Then fill the lower part of the basket with potting soil. (If the basket is very large, you can save soil by placing a solid object such as a wooden block in the centre of the basket).
Cut cross-shaped holes in the fabric in the middle of the wire openings and enlarge them with your fingers so that you can put the root balls of the plants through them. If you remove excess soil from the root balls beforehand, it will be easier to get them through the holes. Then plant the outside of the wire basket with geraniums, herbs and other sun-loving plants. Always leave at least 20 centimetres of space between the plants.
Start planting at the bottom and gradually work your way up until the entire height of the basket is planted. Then place the tabletop back on top of the basket. That’s it! To water, simply remove the tabletop.